 Skip to content

Custom Animated Overlays For Your Video Edits
Video Editing Overlays
What are video editing overlays?
Video editing is an incredibly rewarding and creative activity. The ability to tell stories, capture moments, and share experiences through video is a unique and powerful form of communication. As such, it's no surprise that people have become more and more invested in improving their video editing skills. One way to make your video edits stand out is by using custom animated video editing overlays.
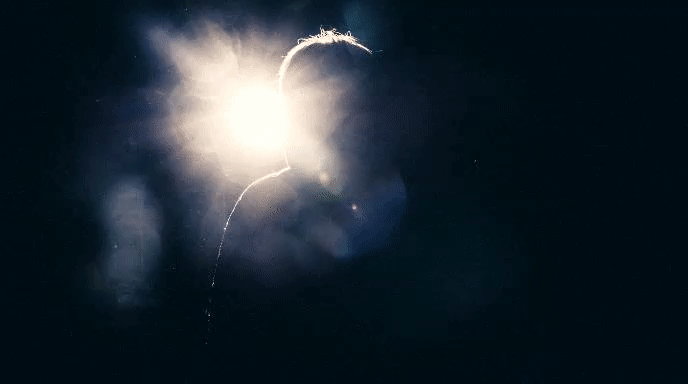
Custom animated overlays are a great way to add a unique and personal touch to your videos. They can be used to highlight certain elements of the video, add special effects, or simply enhance the overall visual experience. In this blog, we'll explore how to create custom animated overlays for your video edits.
Here's a guide on how to use custom animated overlays for your video edits.
Step 1: Choose Your Software
The first step in creating custom animated overlays is to choose your software. There are a number of video editing software programs available, each with its own set of features and capabilities. Some popular options include Adobe Premiere Pro, Final Cut Pro, and DaVinci Resolve. Once you've selected your software, familiarize yourself with the animation tools and options available.
Step 2: Conceptualize Your Overlay
The next step is to plan your overlay. Consider what elements you want to include in your video, and how you want them to look. Will your overlay be a light leak, or will it be a paint animation? What color scheme do you want to use, and how will it complement the rest of your video?
Step 3: Customize Your Overlay
Once you have a clear plan, the next step is to customize the overlay. You can use an effect like color balance HLS to change hue, saturation and lightness within seconds. Be sure to change the blending mode of your overlays to screen, that way it can be easily layered over your video footage.
Step 4: Animate Your Design
Once you have your overlay set, the next step is to animate it. Experiment with different motion effects like position, scale, rotation, and opacity.
Step 5: Add Finishing Touches
After you've animated your overlay, the final step is to add any finishing touches. You can add additional effects like blur, glow, or color correction to make your overlay stand out even more. Be sure to preview your overlay with your video footage to make sure it looks seamless and fits the overall aesthetic of your video.
Step 6: Save and Export Your Overlay
Once you're satisfied with your custom animated overlay, the final step is to save and export it. Be sure to save your overlay in a format that supports transparency, like a PNG or MOV file, or render it with a black background. You can then import your overlay into your video editing software and layer it over your video footage as needed.
Conclusion
In the world of video editing, the use of custom animated overlays can add a level of professionalism and creativity to your videos. Whether you're a beginner or an experienced editor, custom animated overlays can be a great way to spice up your videos and make them stand out.